
For this tutorial I want to show how you add some fun flutter sleeves to any tank pattern that you may own. Now this tutorial will not be pretty but if you have any questions please feel free to email me or leave a comment. This is not rocket science but silly me can feel lost without a tutorial! Oh this tutorial does not cover the leggings at all but it is a birdsong pattern which you can find on etsy here, Birdsong pattern.
 |
| This is the completed tank top. |
 |
| Pattern pieces |

This is the front and back sewn together. I know this is slightly confusing since silly me had the idea to do the blog after I had all ready roll hemmed my flutters and sewn them in place. Bear with me it will make more sense. To decide how big the flutters to make you need to measure your armhole.

My armhole measured 12 inches long and I decided to make my flutter sleeve 3. 5 inches tall. But we only want our flutter to be about half the size of the arm hole opening so I made my flutter 6 inches long and then roll hemmed the curve. You will leave the straight edge unfinished since that is what we sew to our tank.
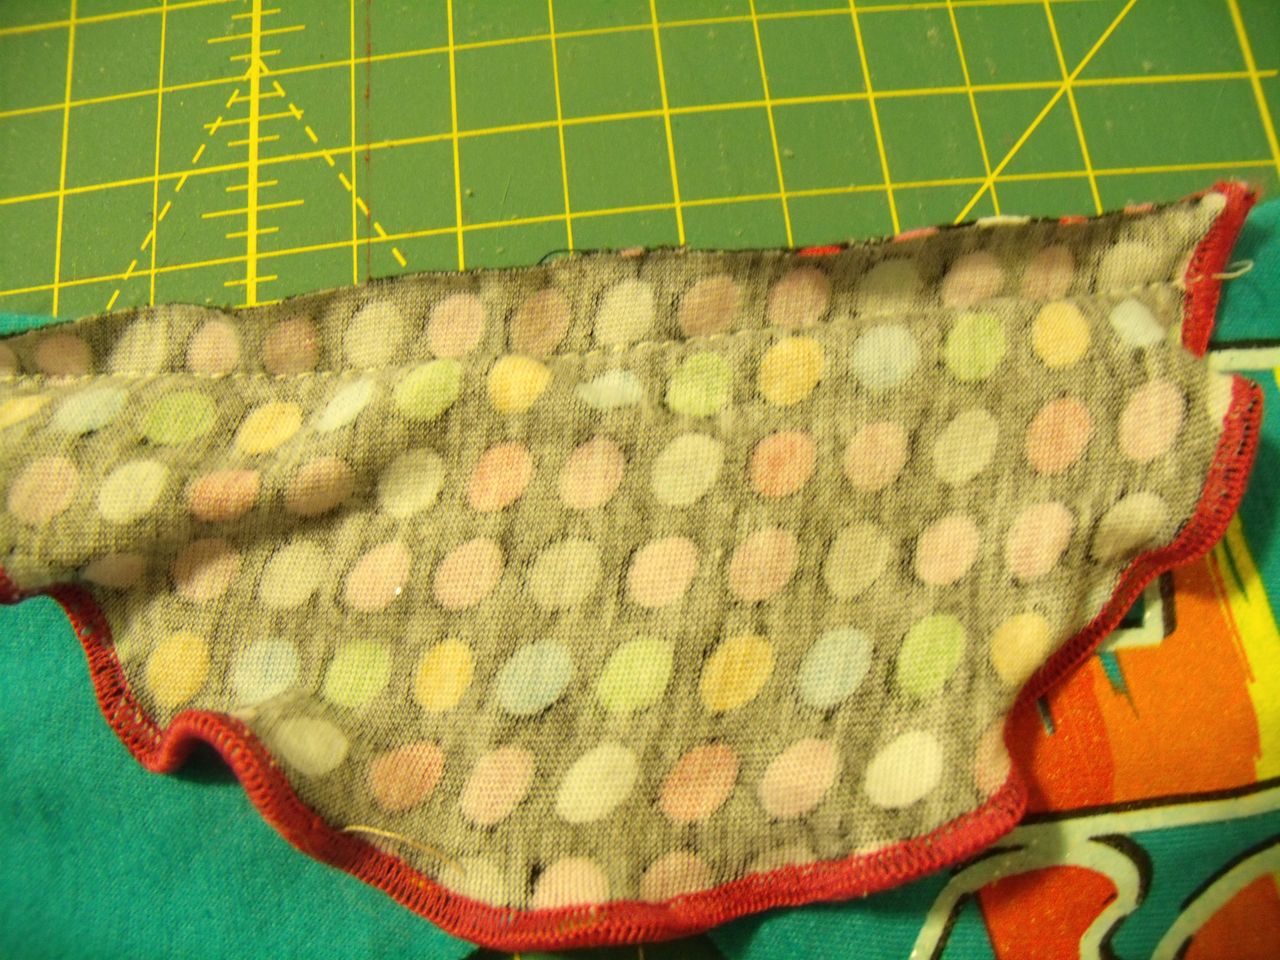
This is the flutter sewn to our armhole opening. I like to find the center of the flutter sleeve and match that to the seam we have from sewing the front and back of the tank. I like to do things a little bit differently and bind my armholes flat instead of doing it in the round. Therefore I add my binding before I sew the side seams. So now we get to cut binding.
I calculated my armhole opening to be 12. When I cut binding I like to follow the 75%-80% rule. Therefore since my armhole opening is 12 then 75-80% would be about 10. So I cut two pieces of cotton lycra to 2" wide and 10" long. There is a reason I use cotton lycra. I like the recovery it has that the lycra gives it. You are going to be stretching the band to fit and you do not want it sagging over time. Some people love to use ribbing but cotton lycra is just my preference. I cut mine 2" wide because I like the width. You will be folding the band in half and accounting for seam allowance it seems to make the perfect width.

These are our 2" strips. These are folded in half and pressed with our iron. They are now ready to be sewn over the flutter.

I line up the center of my armhole band with the seam we sewn. Remember how we sewed the front and back that is what you want the center of your armhole band to match up with. Then we are gently going to stretch our armhole band to fit. This is what gets a nice fit to our garment and so it is not floppy.

This is our armband gently stretched. Now we get to sew the armband down. I just take it to my serger and use a 3/8" seam allowance. I know bad me using pins but I just make sure to remove the pins before they reach the knife. We will do this to both sides.

Both sides arm bands have been sewn so pretty! Now we need to sew up the side seams. I just am very careful to match up my armholes as I sew this seam.

I know this picture is horrible my camera is not cooperating with me. But you get the gist we are almost done!! Now we get to add our neck binding. We are going to do this a lot like the armhole bands. First we measure our neck opening.

Once again we are measuring our neck hole and going to follow the 75%-80% rule. My neck hole measured at 20 so I cut my neckband to 16. We are sewing this in the round so we will be sewing the short ends together before we fold it in half.

The short ends are sewn together now we can press in half. We are then going to match our seam to the center back of our tanktop.
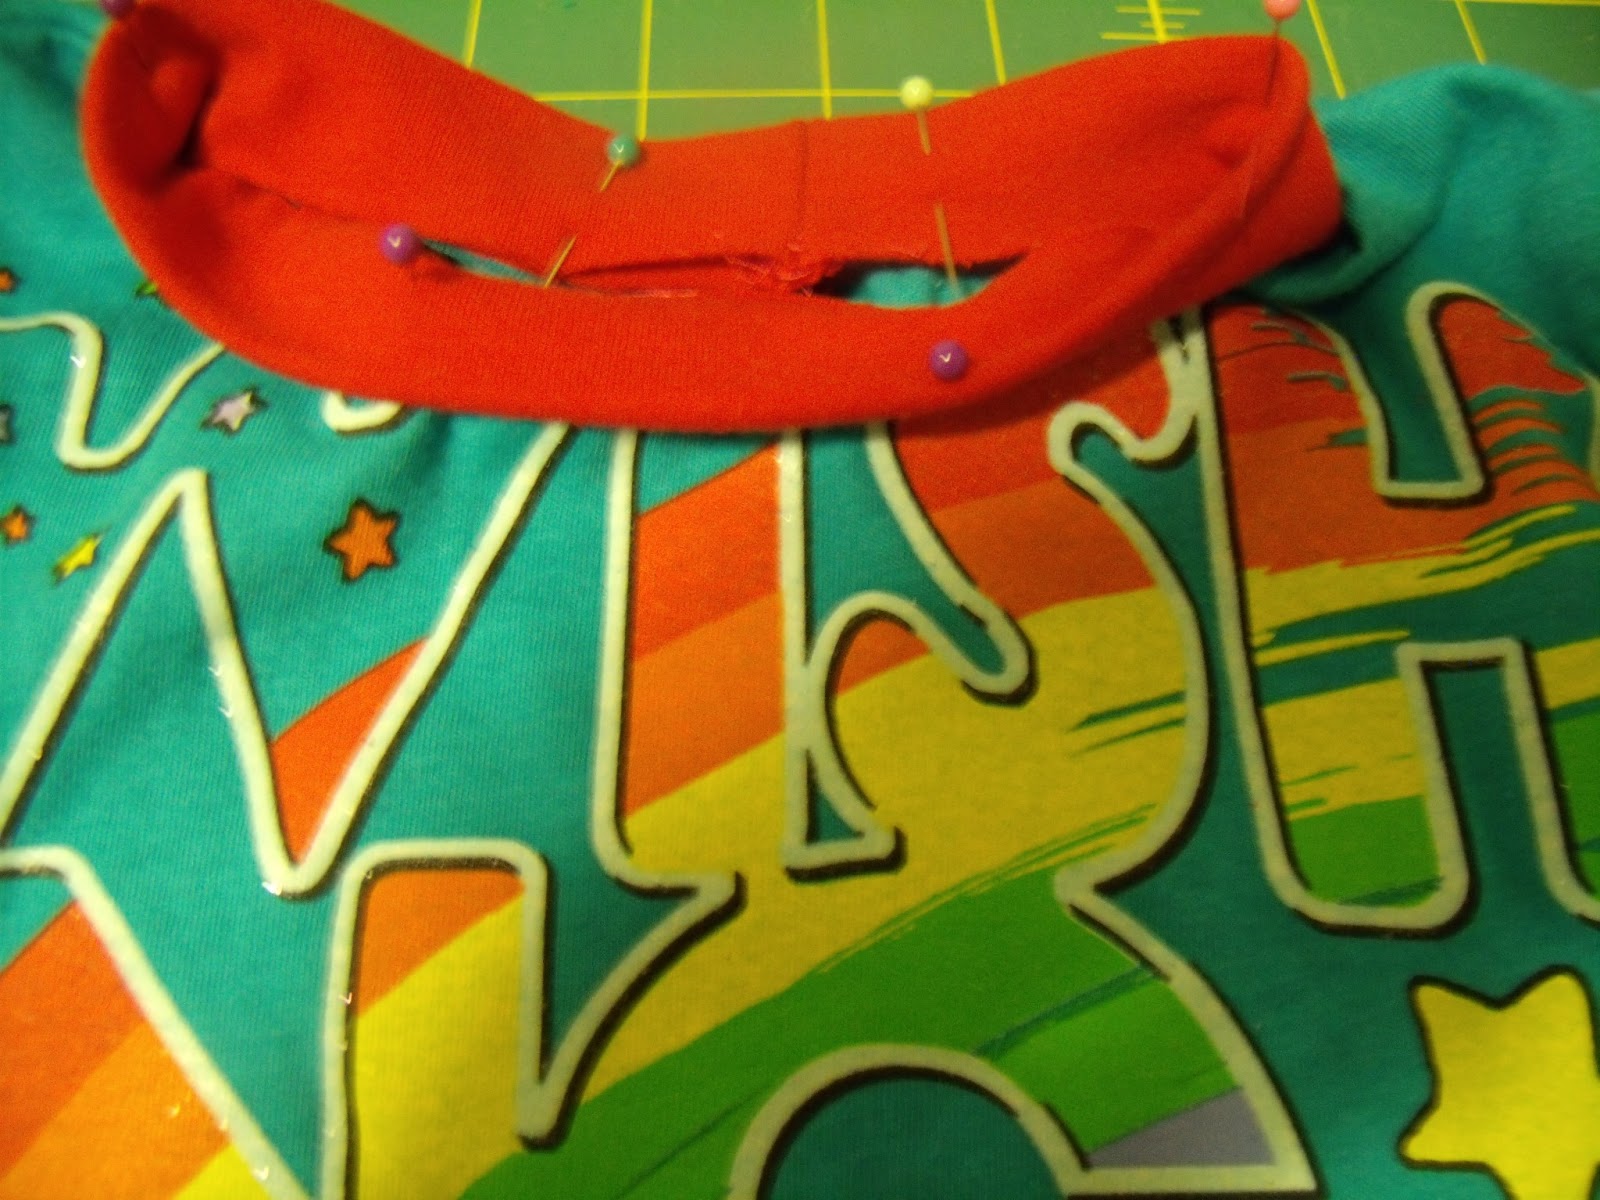
Its a little hard to see but I match my seam of my neck band to the center back of the shirt. I do this just so I always know what the back of a shirt is and it is easier to keep lined up then matching the seam line from when we sewed the front and back of our tank. I then gently stretch to fit my shirt. I know some like to mark their neckband in quarters but I take the lazy way here. I just make sure I am evenly stretching. I then take my garment to the serger and stitch this bad boy!

Tada all finished! Excuse the night time pic! But now you an do any finishing touches such as top stitching the neckline if you so desire. I added a label and topstitch where my shirt and ruffles meet. Also I didn't hem my shirt since I had the ruffles with this tank top. But you may want to hem your shirt before you start if you aren't adding ruffles. I am a rebel and like to hem my garments before I sew side seams etc.

Woo hoo all details finished!!